Caulking between cabinets and walls can improve the appearance and beauty of any kitchen, but it is not always necessary. But in the case of painting a kitchen, caulking a cabinet is needed.
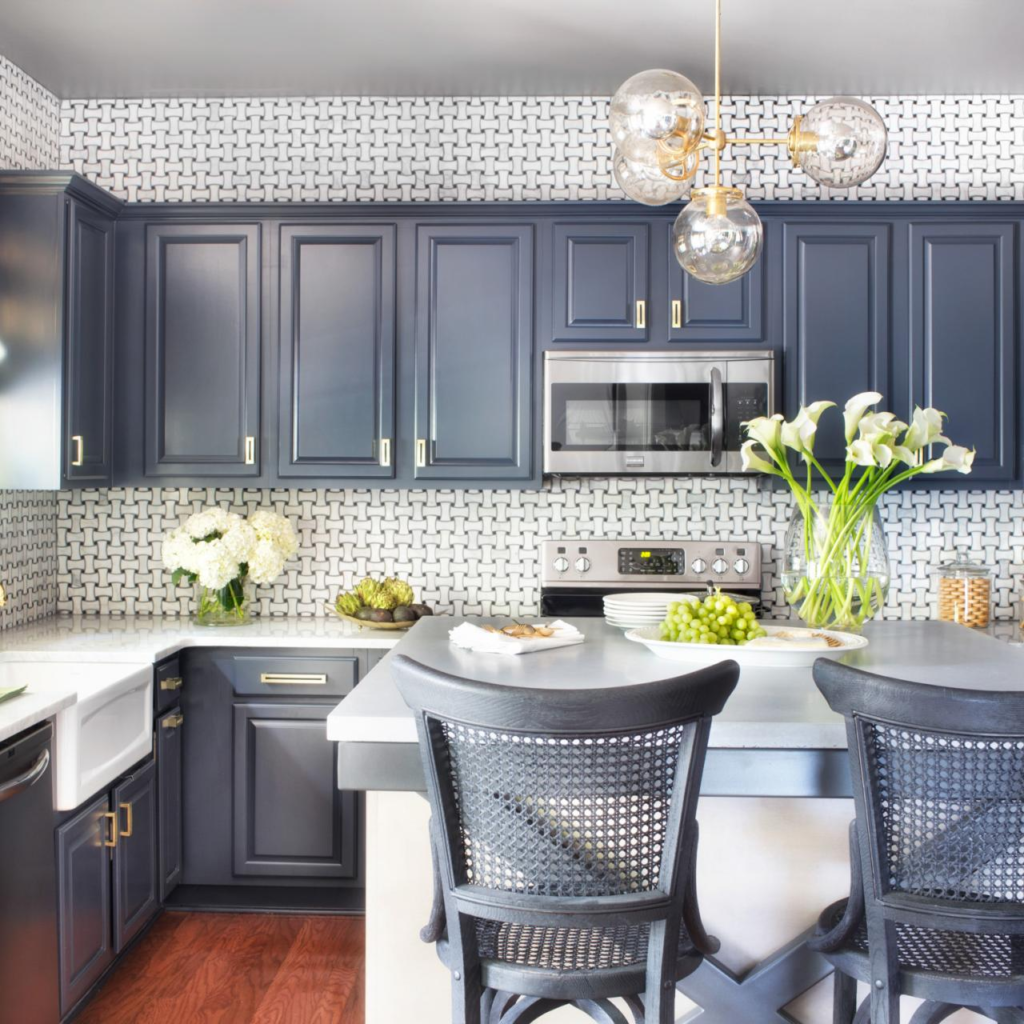
If you are thinking, should you caulk cabinets before painting or after, then the answer is that a white-colored cabinet should always be painted after caulking. Caulking always makes a wall smooth and fills up the gaps. So, many professionals and kitchen installers may use a strip of caulking to fill in the gaps and make everything look neat and tidy.
In this article, we will find out when to caulk a cabinet and when to paint job it.
How Much Necessary Caulk Cabinets Before Painting
Before priming and painting, the cabinet door should always be caulked, especially if the door color is white. As a result, before painting, that cabinet should be filled with caulk to avoid an unappealing appearance.
When To Caulk?
As long as the caulk is paintable, any white caulk will work better in this case. Sherwin Williams’ Quick-Dry caulk is a good product to fill the cabinet wall because, after using it, the wall becomes dry in less than 30 minutes. After drying the caulk, the wall can be prepared for painting.
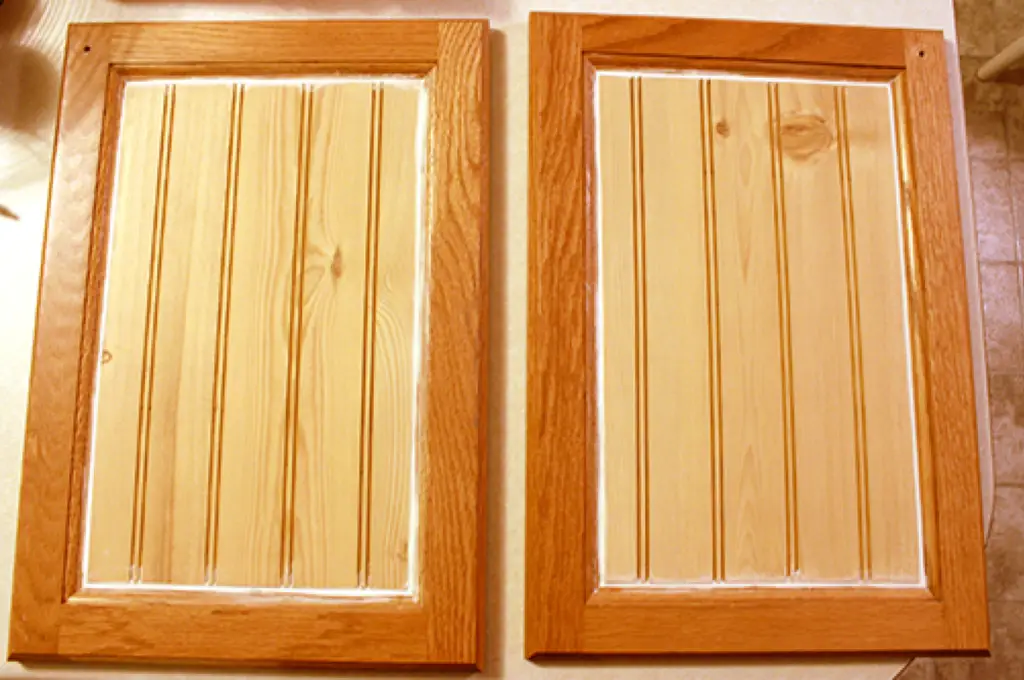
If someone paints a cabinet before caulking, the paint will crack and become rough after a few days. So protecting the cabinet wall with caulking at the beginning of painting is a must. But what is the best caulking for kitchen cabinet? Acrylic caulk with a minimal amount of silicone is the best paintable caulk for cabinets because it will provide a smooth, straight line of caulking.
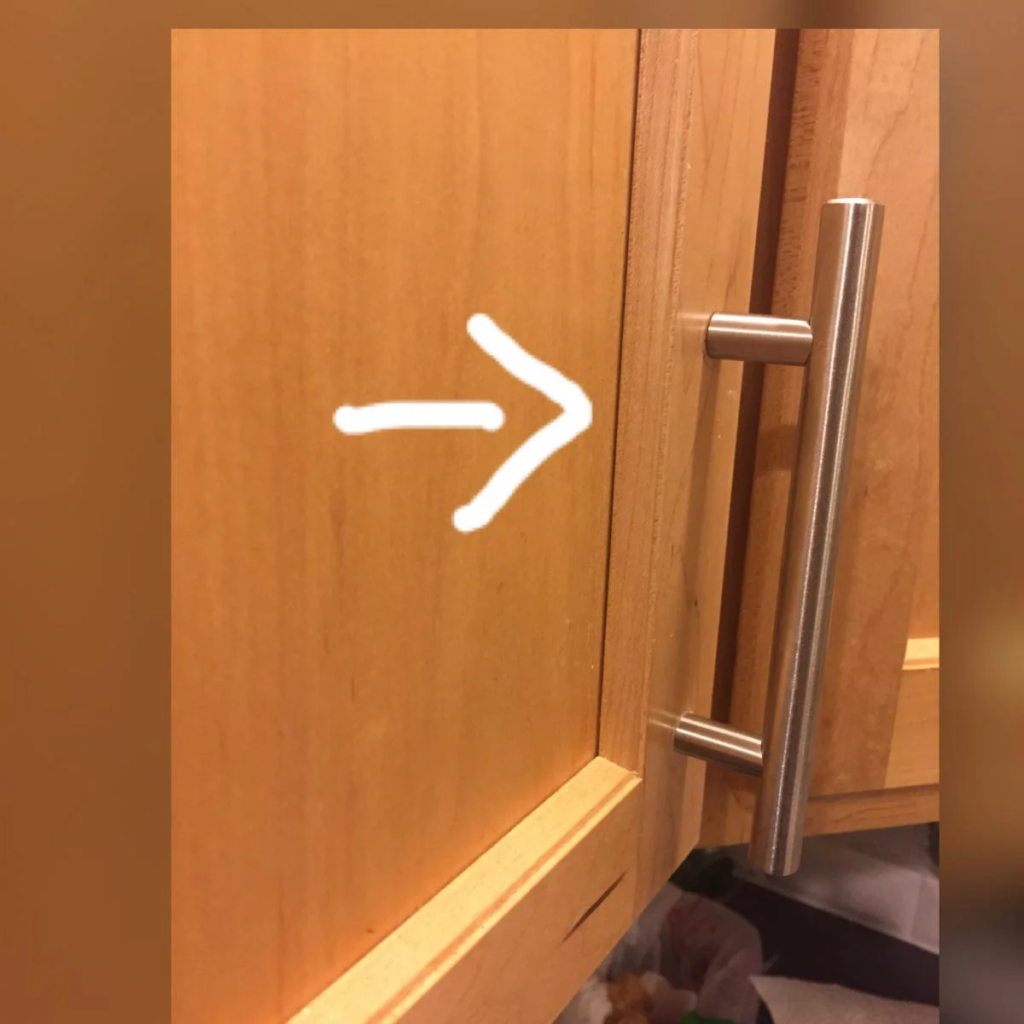
Both the drawer fronts and back walls of the cabinet should be caulked with a moist rag, and then wash away the caulking from the corners after applying.
It is important to get a completely straight, crack-free line of caulk tape at the margins where the wall boxes meet the wall.
Perfect Caulk For Cabinet
What kind of caulk is for the kitchen cabinet? All doorway panels are not treated equally. Some cabinets come up within the frame, which may or may not allow caulking, and the caulking process always works in its own way, so do not apply caulk without judging the cabinet door.
Using the wrong color and faulty texture of caulk can make the door panel lose its integrity after a few times. Here are a few colors and instructions for the caulking before painting a cabinet:
1. White
When it comes to cabinets, white is the ideal paint color. This helps the paintless, noticeable brush strokes. However, Sherwin Williams Pro Classic semi-gloss is the leveling paint most people use. Not the alkyd version, but the acrylic version. There’s also an acrylic alkyd mix, which is the best.
2. Latex
It’s preferable to use paint that dries quickly, so users don’t have to wait too long to apply the second layer. Latex is the best option because it dries faster than oil and will not discolor the white paint.
For the bulk of the cabinet painting tasks, white is the most popular color. Although white is a classic hue that goes with almost any other color in the kitchen, there are a few things to consider before painting your cabinets white.
3. Utilize A Sprayer
The best and quickest way to paint is with a sprayer, which requires some technique but produces a great result. A lot of masking is required to protect the walls and doors of a kitchen. Another option is to use a foam roller to roll the wall boxes and spray the doors. Always remove the doors and paint them in a different room.
4. Use A Drying Rack
After putting each coat of paint on, the doors must be put on a drying rack. A drying rack not only saves space but also allows both sides of the doors to be painted and stored on the same day, which saves a lot of time. Though you can keep them on boards and flip them over after the paint dries, this technique takes a lot longer.
But its color and instruction demand a few confederations for long-lasting caulking and painting.
Consideration 1- Dirt And Dust
Dirt and dust can accumulate in a cabinet seam. If anyone is concerned about caulking cabinet seams, then they must get custom cabinets that have a very large cabinet wall. And in such a situation, the seam is as usual. Moreover, the gap is important because it joins the corner cabinet with the end of the other filler.
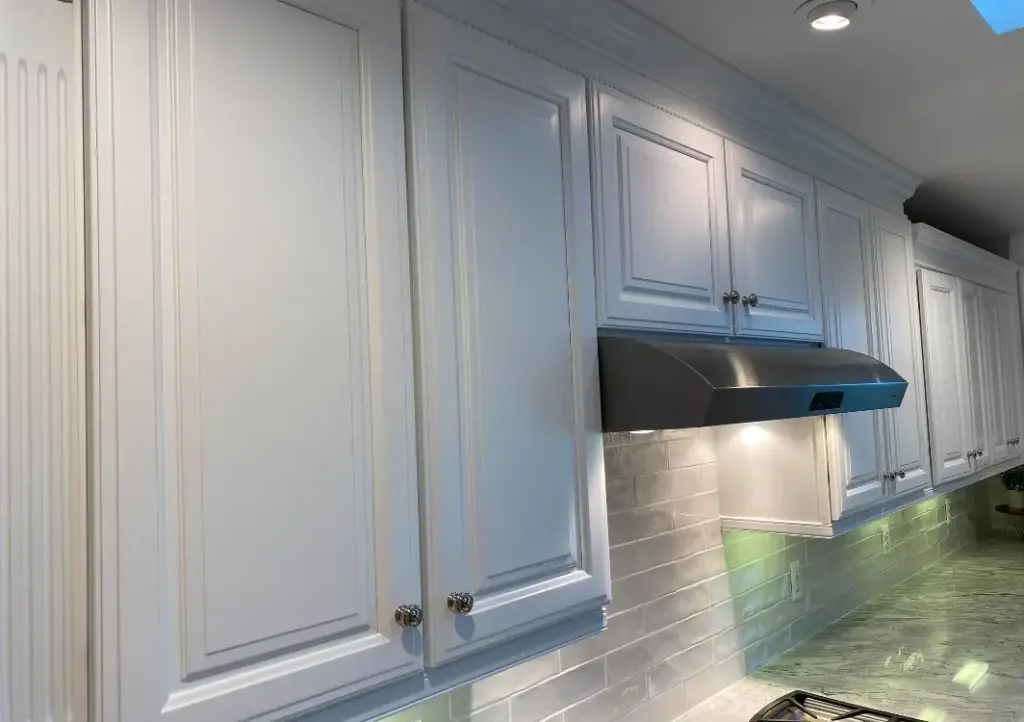
But white cabinet seams always become very dirty very fast. As such, white cabinets show grime and oil accumulation more than any other color. Whenever the cabinets are white, installing knobs is a necessary task; otherwise, the painted doors will become dirty quickly.
Consideration 2- Latex Is the Best
In the comparison between latex paint and oil-based paint, latex is a preferable alternative to white painting. Although oil-based paints are more durable, white oil paint will turn yellow and change color with time.
In this case, using acrylic latex paint, such as Pro Classic, is a long-lasting substance that won’t yellow. However, acrylic paint that has been treated with urethane is also a viable option.
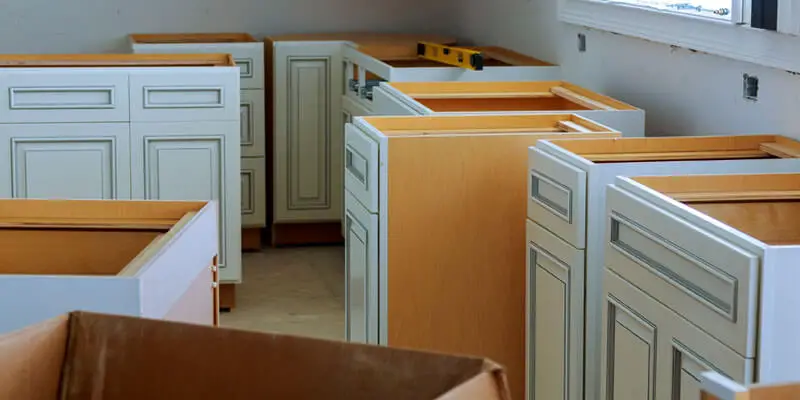
How To Caulk A Cabinet Perfectly
Particular care is required to fill cracks and seams when painting kitchen cabinets. It’s essential to clear away any dust or grease in-between seams and joints before applying primer and caulking. And in the case of caulking between cabinets and ceiling, then trimming is needed. To caulk a cabinet perfectly, a few steps need to be taken.
Read more: How To Caulk A Bathroom Sink Faucet?
Step 1- Cleaning
While preparing cabinet doors, it’s vital to wipe the entire surface. Dust and grease can make a surface difficult for paint to adhere to. Moreover, the paint will not adhere effectively if someone paints over a contaminated surface. So use de-glosser and soap to clean them.
By using a harsh scrubbing pad, scrub the doors and wall boxes thoroughly. Liquid TSP also works well, but the waste must be thoroughly washed to avoid primer and paint bonding issues. If you use a de-glossing cleaner, make sure the wood flooring beneath it is protected to avoid harm from spills.
Step 2- Sanding
When it comes to cleaning, skipping sanding or not performing is a common mistake—attempting to wash dirt marks off of the cabinet door a few months after painting it and rubbing the white paint. Although some primers claim that sanding isn’t necessary, it is always recommended for a solid connection.
If someone is planning to sand the cabinets manually, an orbital sander will come in very handy. They’re also cost-effective, but sanding doors by hand is difficult. So, an electric sander is significantly superior.
This is high-quality sandpaper that can be used on most types of wood filler. In this case, 120-grit works well for maple cabinets. And, any grit lower than that begins to rip the maple’s delicate surface. On the other hand, oak is a much harder wood that can be sanded with rougher grits without damaging it.
Step 3- Make Use Of High-Quality Caulking
Use a clean finger to squeeze the caulking into gaps and seams as smoothly as possible. The sealant that is pushed into a crack has a lower probability of making its way out years later. Cabinet caulking is a time-consuming task.
So, when it is done correctly, a professional caulker improves the appearance of any surface. Caulking is an art, so don’t rush into filling cracks and other flaws. Caulking that is done correctly should not be noticeable after drying.
Step 4- Proper Drying
Before applying the second coat of primer, let the caulk dry. It may take 24 hours.
Restrictions That You Need To Follow
- Use Primer
A primer coat hides flaws in the wall, such as patched or repaired areas. When asked whether to caulk cabinet doors before or after primer, a user should almost always prime before painting.
- Do Not Use Latex Primer
If you’re painting your cabinet boxes with chalk paint, you’ll need to prime them, but not with latex primer. A primer is dependent on oil or shellac because it will completely cover the sanding surface and provide a firm connection with paint. Latex primer does not effectively protect the wood.
For painting open-grain wood like oak, avoiding latex primer is more important because it releases cracks and pores.
- Using A Brush And Roller
If you’re spraying, the shellac-based primer BIN is an ideal choice for achieving a firm adhesive and a smooth white finish. When using a brush and roller, this primer does not work so well, but it’s perfect for spraying. With two coats of BIN, the user will obtain a beautiful finish to the white paint. But, there are a variety of oil-based primers that perform nicely as well. To get the best results, use two coats of primer.
FAQ
Is it possible to apply caulk to cabinets?
Should shaker cabinet doors be caulked?
Is it necessary to caulk my kitchen cabinets?
Where can you caulk on kitchen cabinets?
And when it gets fitted, the cabinets will fit together nicely, and there will be no gaps.
Wrapping Up!
Your concern about whether should you caulk cabinets before painting, then before priming and painting, the cabinets should always be caulked, especially if the cabinet door color is white.
When panel cracks are left un-caulked, they become half-filled with globs of paint and look awful. As long as the caulk is paintable, any white caulk will suffice. Then, in less than 30 minutes, the caulk is ready to paint.
Want to Learn More:
- How to Get Rid of Mold in Shower Caulk – Multiple Solution
- How To Remove Mold From Under Silicone Caulk (5 Steps Process)
- 3 Causes Why Does Clear Caulk Turn White?
- How To Finish Tile Edges With Caulk – 6 Easy Steps
Hello! this is John Cox. If I’m not wrong, you love Home. Right? And you already met one of them who’ve been in this field since 2005 and still go on. According to my interest, I’ve started this blog to share my thoughts about Home sectors, and you’ll love it.
