If you are familiar with caulking, you must know that caulking is an important part of home installation. An expert or a homeowner can do the caulking on their own.
While doing caulking, messing up your hand with caulk is very common. An expert usually knows how to remove caulk from hands or other skin professionally, but a DIYer may not be aware of this issue. And if you’re a DIYer, then don’t worry. Removing caulk from your hands isn’t that difficult.
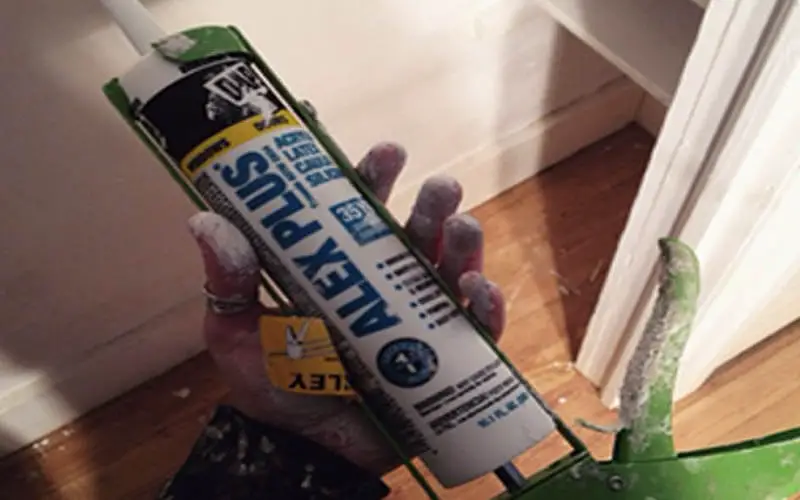
Applying caulk using your fingers typically ends up in a mess. In addition, because caulk has a strong adhesive quality, it will become increasingly difficult to remove if you allow it to remain on your hands for an extended period of time.
When you are finished caulking, you should wipe the wet caulk off your skin using either a paper towel or a wet rag.
Here’s our caulking expert going to explain the removal process of caulk from the skin.
How Caulk Creates Mess in Hands

Caulk is a liquid spread in the form of a paste. It dries quickly and turns into a hard rubber. And when it dries out, it makes a barrier against air and water. Caulk is useful in many places, but the best places to use it are in the kitchen and bathroom. But when it’s being put on, it sticks to the skin on the hands, which is a problem.
If the caulk is put on wrong and forms curved beads and wet spots, it may still work as a caulk, but it will probably look not good until it is fixed. And when you try to fix them, they stick to your hand, which is very annoying. Putting on gloves could be a temporary fix.
Here are a few possible reasons for the sticking caulk:
- You smoothen the caulk with your hand.
- The caulk was painted too quickly.
- You are just working with a silicone caulk without gloves.
What To Do If You Get Caulk on Your Skin?
Before applying caulk, make up your mind that the caulk is going to stick to your skin. So, as a quick preparation before buying, read the instructions and get some advice from a caulking expert. According to our expert, following these steps can remove caulk from your skin.
The Removing Process with Steps
Step 1. Using Oil or Butter

To remove any caulking substance from your hands, begin by rubbing butter or oil all over your hands. If you plan on using the butter in cooking, it is recommended that you remove a portion of butter from the stick rather than use the entire piece.
Step 2. Applying Baking Soda and Soap

Rub your hands together with baking soda. To remove the caulk, the baking soda acts as a gentle force and lubricant. Moreover,
Basic hand soap can also be used to remove the caulk from the skin. Additionally, soap will make your hands softer and cleaner.
Step 3. Rubbing Alcohol

The silicone caulk can be loosened by applying rubbing alcohol to your hands. Next, remove the caulk by applying alcohol to your hands, then rinsing them thoroughly with running water.
Step 4. Usage of Plastic Bags
Removing the caulk from your hands will be easier if you start by placing a plastic shopping bag between them and then rubbing your hands together.
Bonus Point:
Nail polish remover is a good chemical to dissolve caulks from the skin.
Home Remedies to Remove Caulk From the Skin
Remove Dried Caulk with Heat
Even though most caulk is waterproof when it becomes dried, heat weakens it. Because of caulk’s synthetic nature, it is less resistant to heat. As a result, in warm climates, it is necessary to replace outdoor caulk more regularly. In addition, the caulk sealant’s authenticity is typically weakened by heat.
Hairdryer removal of dried caulk from the skin is more effective when using this concept. Blow warm air into your caulked hands using a hairdryer.
It shouldn’t hurt or heat up your hands. Therefore, keep the hair dryer at least 6 inches away from the skin and prevent unnecessary hot air from blowing in the same spot.
To begin with, try using the lowest heat setting on your hairdryer. Raising the temperature gradually lowers the dried sealant, but turn off the heat as soon as you feel discomfort.
Blowing warm air over it makes peeling dried caulk from the affected area easier. Next, use a moderately polished sponge or paper towel to remove the caulk from your hands.
Utilization of Acetone
Commonly, dried silicone caulk is removed by dissolving it with acetone. Nail polish remover, which is a chemical substance, contains acetone.
On top of the dry paper towel, place a wet, acetone-drenched paper towel on top of it. The silicone-coated area should be filled with a soft cloth. Only a small amount of acetone should be utilized to perform this method. You’ll have to deal with the fumes if you use too much acetone.
Follow these simple steps to remove any silicone substance from your hands. Everything ultimately depends on how quickly you respond after coming into contact with silicone on your skin.
If you wish to avoid injury, taking care of your skin is essential. Even if the caulk was applied accidentally, acetone would be an effective method for removing silicone caulk from the skin.
Tips for Avoiding Future Caulking Disasters
It is essential to take precautions when caulking to avoid creating a mess. The following is a list of recommendations for avoiding accidents:
- Utilize a caulk gun with a wide nozzle. This will allow you to avoid mess and cover more surface area in the same amount of time.
- Furthermore, it is essential to wait until the caulking has fully dried before moving or manipulating the surface. If you use wet caulking, you risk developing leaks and other issues in the future.
- Caulk should be applied to the project’s edges, including inside corners and areas around doors and window frames. And avoid the water until the caulk is dried. When water enters an area, it frequently creates a mess.
While caulking, sticking caulk in hand is very common, using the steps and tips that our expert explained.
Hello! this is John Cox. If I’m not wrong, you love Home. Right? And you already met one of them who’ve been in this field since 2005 and still go on. According to my interest, I’ve started this blog to share my thoughts about Home sectors, and you’ll love it.
